WordPress is known as the most popular website builder in the world. It powers over 43% of all websites on the internet. The main reason for that is because WordPress is easy to install which makes it easy for anyone to create a website.
All best WordPress web hosting companies allow you to install WordPress with just few clicks. In most circumstances, installing WordPress is a simple process that takes less than five minutes to complete.
We will also explain how to install WordPress manually using FTP for our intermediate users. Lastly, for our beginner developer and designers, we will show you how to install WordPress on a local computer. Apart from showing you how to install WordPress, we will also give you tips on things to do after you install WordPress.
Things You Need Before Installing WordPress
Before you install WordPress, first you will need a domain name and a good web hosting company(Hostinger, Bluehost, HostGator, SiteGround, WP Engine, cPanel, localhost) that knows WordPress. After choosing a hosting provider, you’re ready to install WordPress.
WordPress is known as the most popular website builder in the world. It powers over 43% of all websites on the internet. The main reason for that is because WordPress is easy to install which makes it easy for anyone to create a website.
All best WordPress web hosting companies allow you to install WordPress with just few clicks. In most circumstances, installing WordPress is a simple process that takes less than five minutes to complete.
We will also explain how to install WordPress manually using FTP for our intermediate users. Lastly, for our beginner developer and designers, we will show you how to install WordPress on a local computer. Apart from showing you how to install WordPress, we will also give you tips on things to do after you install WordPress.
Step 1: Things You Need Before Installing WordPress
Before you install WordPress, first you will need a domain name and a good web hosting company(Hostinger, Bluehost, HostGator, SiteGround, WP Engine, cPanel, localhost) that knows WordPress. After choosing a hosting provider, you’re ready to install WordPress.
Step 2: Install WordPress & Configure Settings
Simply go to to the URL where you uploaded WordPress. If it is in the main domain, then enter your domain name in the browser window, like yoursite.com or www.yoursite.com.
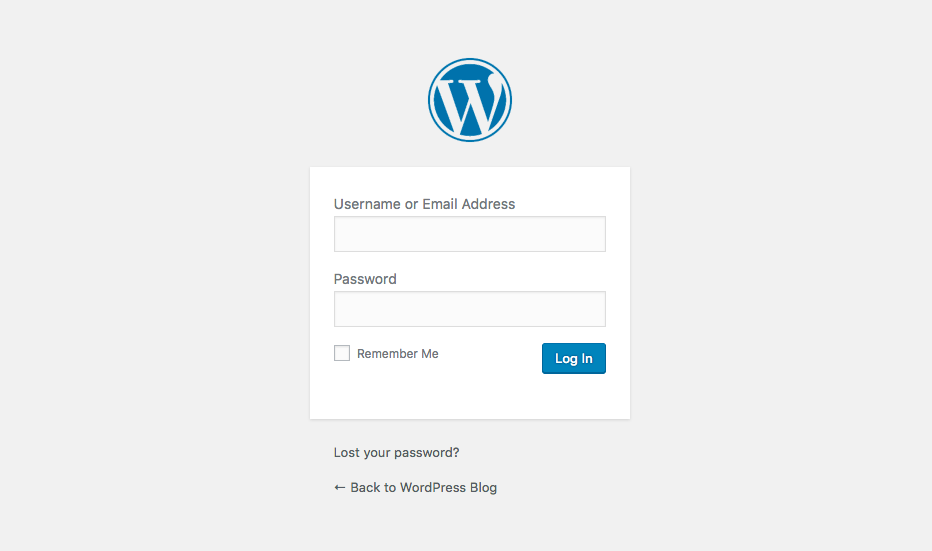
Once you have WordPress installed and ready, your can head over to your URL to log into WordPress. There should be a link to your WordPress login from your hosting account (usually it goes to your-url.com/wp-login or wp-admin or something similar). Use the admin name or email and password that you created when setting up your information for your hosting account.
You will see the language selection page. You can choose a language here so that the rest of the installation is displayed in your own language. You can also use English for now and then later change the language.
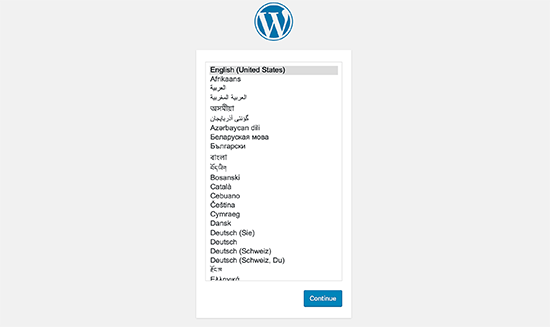
Click on the continue button to proceed.
You will now see some installation instructions. Basically, WordPress will now tell you that it will need your database name, password, and MySQL host information.
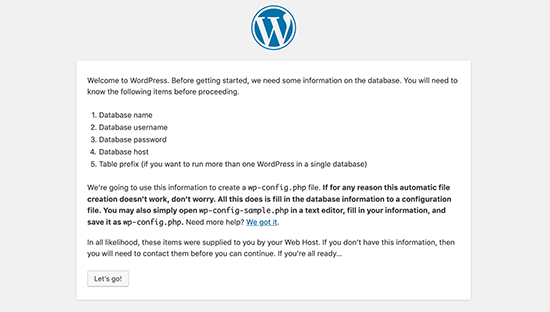
Click on the ‘Let’s go’ button to continue.
WordPress will now show you a form. You need to enter the database information you created earlier.
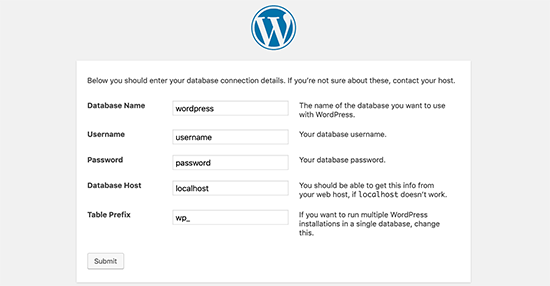
Fill in the information and then click on the ‘Submit’ button. WordPress will connect to your database and show you a success message.

Click on ‘Run the Install’ button to continue.
WordPress will now create tables in your database and then send you to the next step of the installation.
Now you need to provide some information for WordPress to set up your site. This includes site title, username, password, and admin email address.
If you do not want your website to be visible to search engines, then you can check the box next to search engine visibility. Later when you are ready you can change this from WordPress settings. If you are unsure about what to do, then simply leave it unchecked.
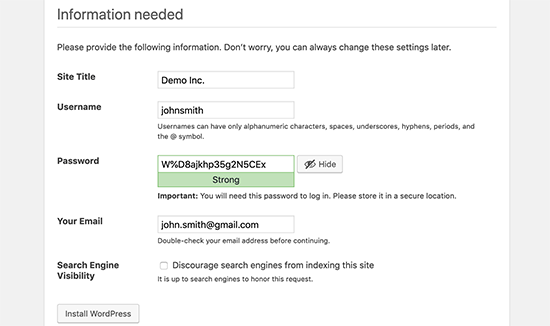
Click on the Install WordPress button to continue. WordPress will set up your website and finish the installation.
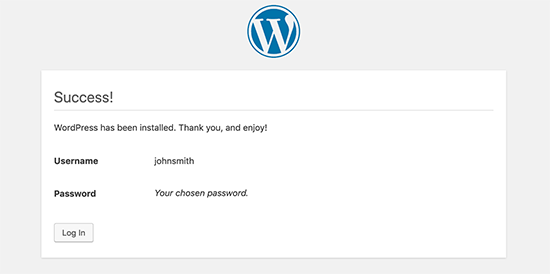
You will see a success message showing your username. You can now click on the Log in button to sign in to your WordPress site.
General WordPress Settings
WordPress is highly customizable (in fact it is 100% customizable as it is open source software), but for the purposes of this guide I am referring to the settings accessed via your WordPress dashboard. If you hover over the Settings Menu item in your sidebar you will see a number of options.
It may look a bit of an overwhelming list but it doesn’t have to be – there are only a few main settings on these pages that you need to concern yourself with at this stage. Let’s go through each in turn.
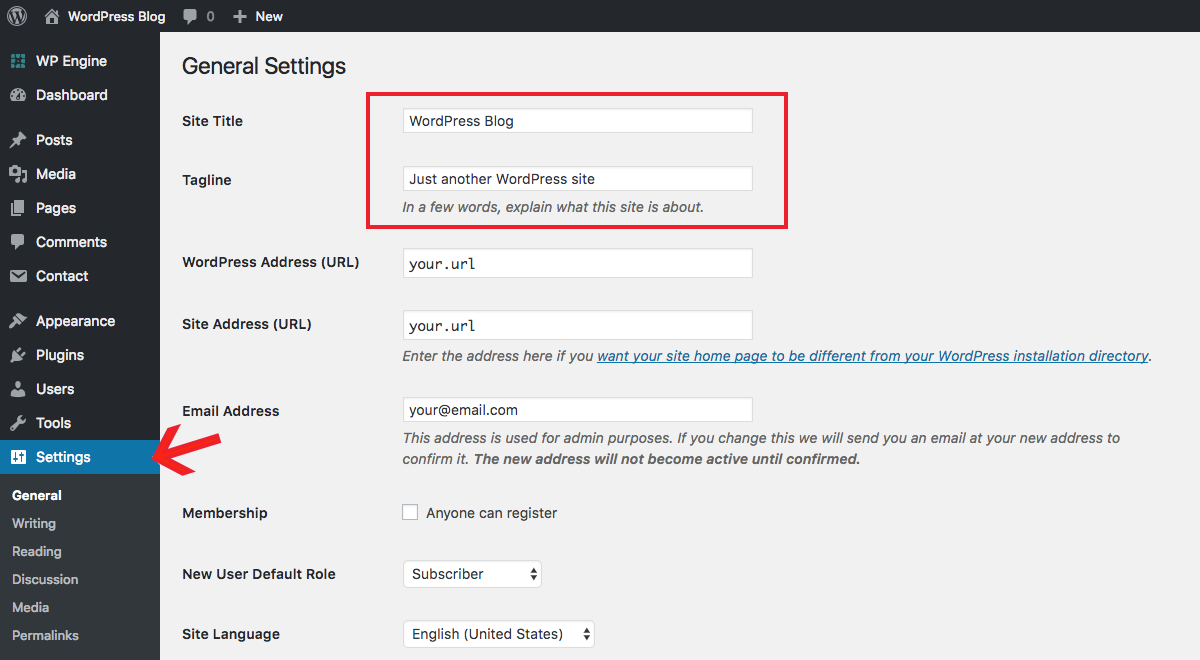
On this page the most important settings are the fields to enter your Site Title & Tagline. You can come back and change them at any time, but it is a good to have an idea of what you want to use for these from the beginning for consistent branding. The Title will probably just be your site name, brand or your name (if it’s a personal blog), so that’s easy. For your Tagline think about what your wanted to start a blog in the first place. It should describe what your blog is about. You can also change the date and time format from this page if you so wish.
Writing WordPress Settings
In this section you can set a Default Post Category & Post Type for your articles. Seeing as you haven’t started blogging yet, this is a section you can return to at a later date. It’s not a crucial step though it can help speed up the blogging process by a couple seconds if your edit the defaults to your liking.
Reading WordPress Settings
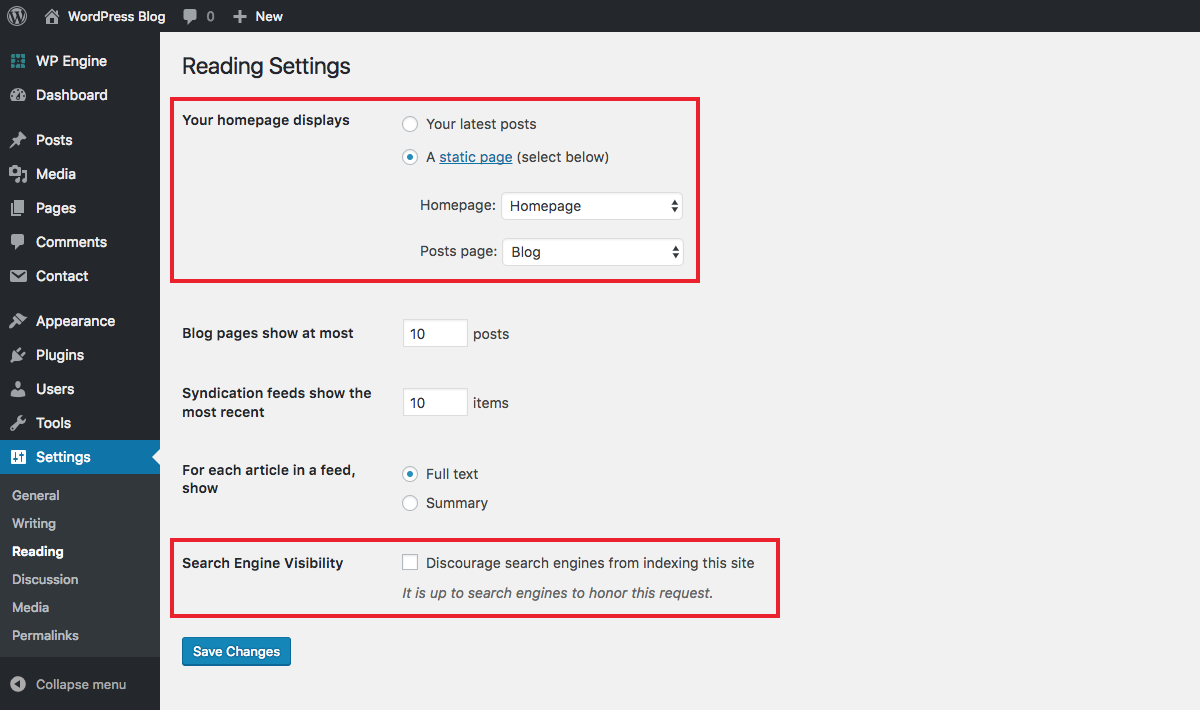
From the reading tab you’ll want to set what Your Homepage Displays. Based on the theme you’re using you may want to use your latest blog posts or a custom static page. Read more about how to set and edit your WordPress homepage in our guide.
Discussion WordPress Settings
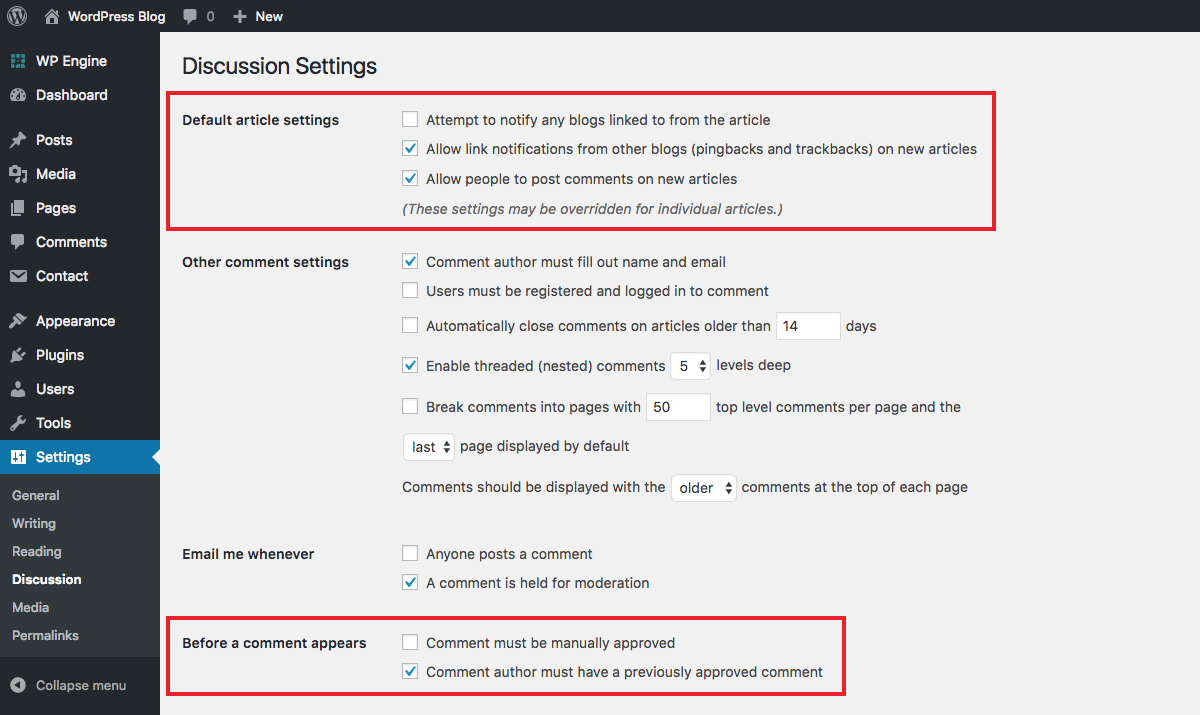
This page contains all settings relating to comments on your site. At this time your main considerations should be as to whether or not you will allow people to post comments and if comments must be manually approved. There are other options you can skim through, though most default settings should work fine.
Media WordPress Settings
This is where you can find cropping options for the media (images) you add to your website. WordPress includes options for thumbnail, medium and large image cropping sizes. You can just leave these be or customize them if you want to use the pre-set sizes in your posts.
Permalinks WordPress Settings
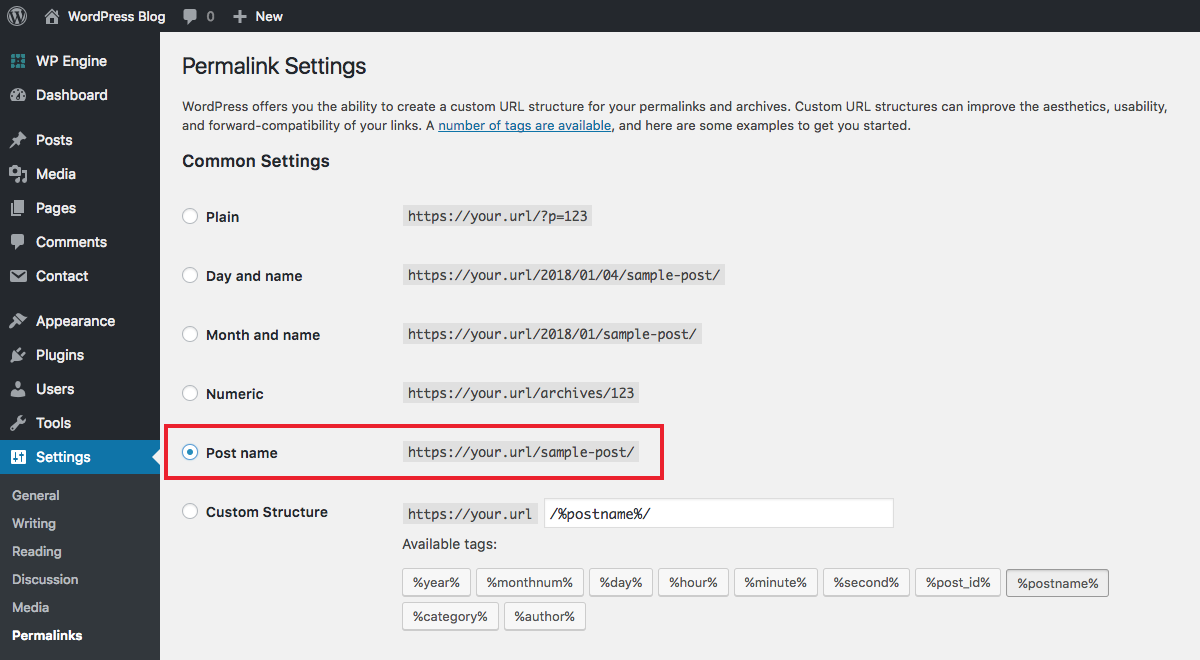
Permalinks are what appear in the browser address bar when a visitor is on any given page on your site – it’s your url plus the unique page or post identifier. For example the permalink for this page is “get-started-wordpress-blogging”.
On this settings page you’ll be presented with a list of different permalink formats. By default WordPress is set to use the post id which isn’t very pretty. Instead we generally prefer and recommend the Post name option since it’s easy to use, is visually appealing and it’s an extra boost to your SEO (using your keyword in your slug is typically a good thing).
Note: Once you select a permalink structure and begin publishing posts you shouldn’t change it without some prep. Switching permalink structure without proper planning and execution can result in broken links and 404 errors on your website so please use caution and these tips on how to change your permalinks safely.
Step 3: Choose a WordPress Theme to Start a Blog
This is where most new bloggers get tripped up – they spend hours and hours in search of a perfect theme. So let me take a load off your mind: your theme is not that important when you are just getting started. Your sole focus should be creating content and getting it out there for people to see. Don’t worry about your site’s design too much until you have a sizable audience to tell you whether or not they like it.
By default, you’ll see the yearly WordPress theme active on your website. Automattic (the folks behind WordPress) release a new one each year and each one is geared towards bloggers (the most recent theme Twenty Seventeen, but Twenty Eighteen is on it’s way). Each year this new theme is typically more than suitable for those just getting started with WordPress to start a blog.
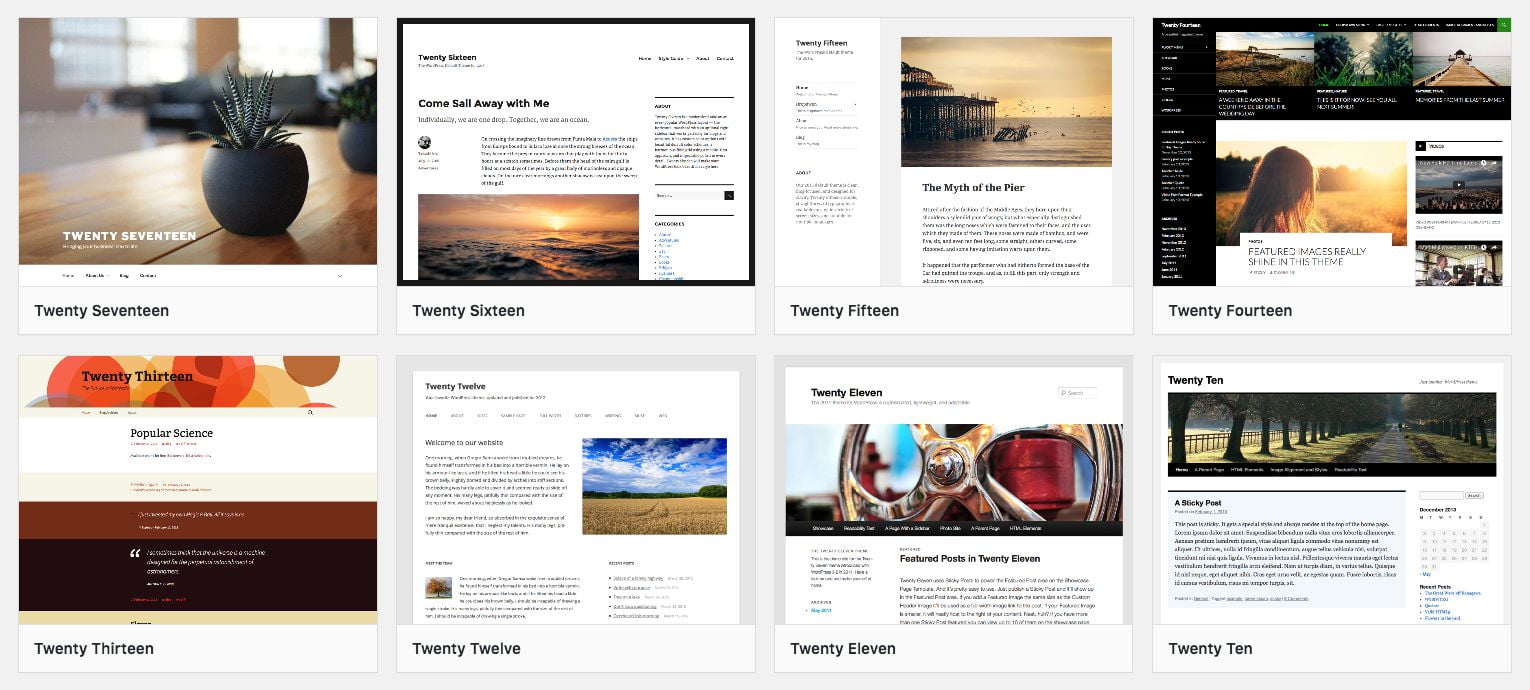
But at some point you will probably want to switch to a theme with more features for your growing website. Making the switch is easy – all you have to do is install a new theme. Just navigate to Appearance > Themes > Add New via your sidebar. Click on the button to upload your theme. Then select your theme zip file to upload, install the theme and then activate it. Ta-dah! You just installed a lovely premium theme with more features and options that you’ll get in a free theme.
Although there are plenty of free and premium themes to pick and choose from, you really can’t beat the quality of the themes made here at WPExplorer. Here are a few of our favorites.
Step 4: Install Recommended Plugins
If themes are the first stumbling blocks for new bloggers then plugins have to take second place. It is all too easy to spend hours installing any number of plugins before you actually get anything done in terms of content creation. It’s a huge time suck.
In reality you do not need any plugins to get started as a blogger. WordPress is well-equipped out of the box. However, there are some plugins that I would recommend you install and activate in order to get the most out of your blog.
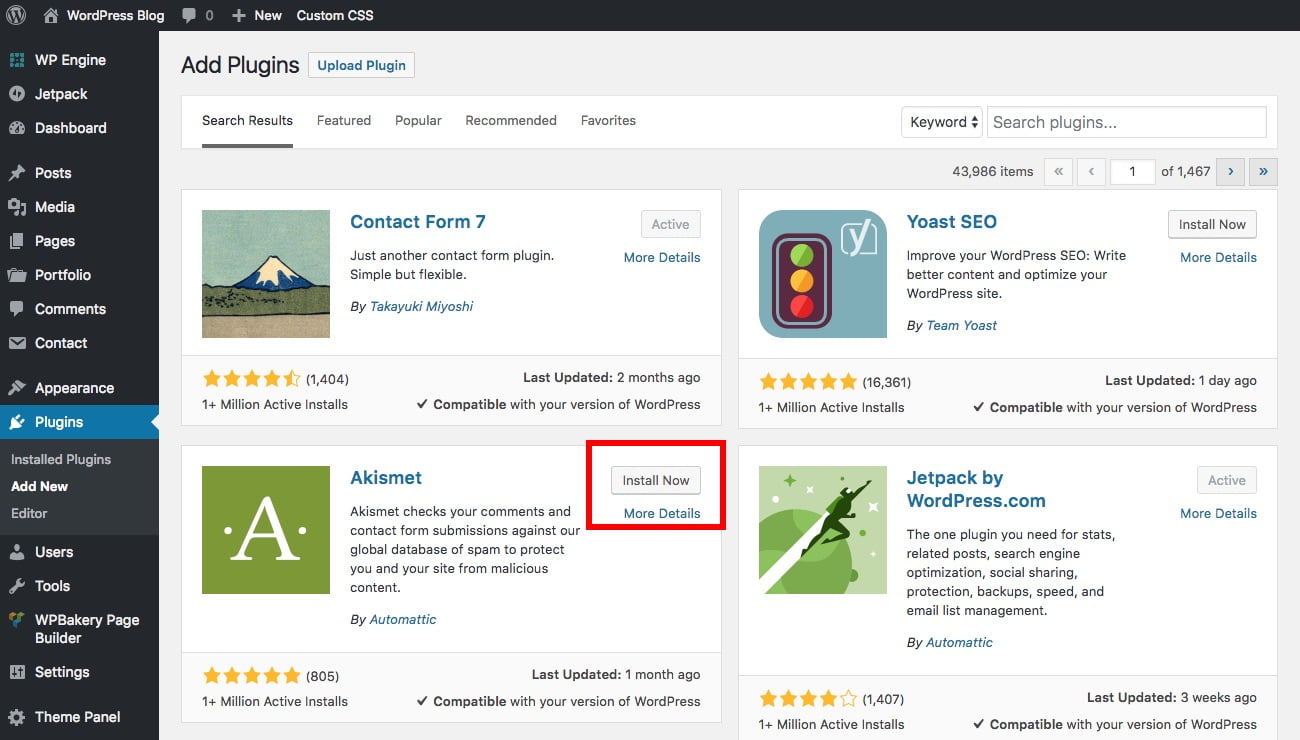
Note – each of these plugins is free and can be installed by navigating to Plugins > Add New via your sidebar. Then either use the search box to browse for a free plugin in the repository (or you click to upload a plugin that you’ve downloaded elsewhere).
Step 5: Start Blogging
At this point your blog is almost primed for content production and there are just a couple more things to take care of. The first is getting rid of the sample post, page and comment that WordPress includes by default.


